The Short Answer
Repotting is more than moving a plant into a bigger pot — removing it without tearing roots, gently loosening a root-bound mass, and settling it into new soil at the right depth all affect how well the plant recovers afterward. Rushing any of these steps is a common reason a freshly repotted plant looks stressed for weeks.
Before You Start
- Water the plant a day or two before repotting — slightly moist (not soaked) soil holds together better and slides out of the pot more easily than bone-dry soil.
- Choose a new pot one to two inches larger in diameter than the current one, with a drainage hole.
- Prepare fresh potting mix appropriate for the specific plant (a chunkier aroid mix, a fast-draining succulent mix, or standard potting soil, depending on species).
- Pick a spot with easy cleanup in mind, since repotting is reliably messier than it looks in a quick demonstration.
Removing the Plant Without Damage
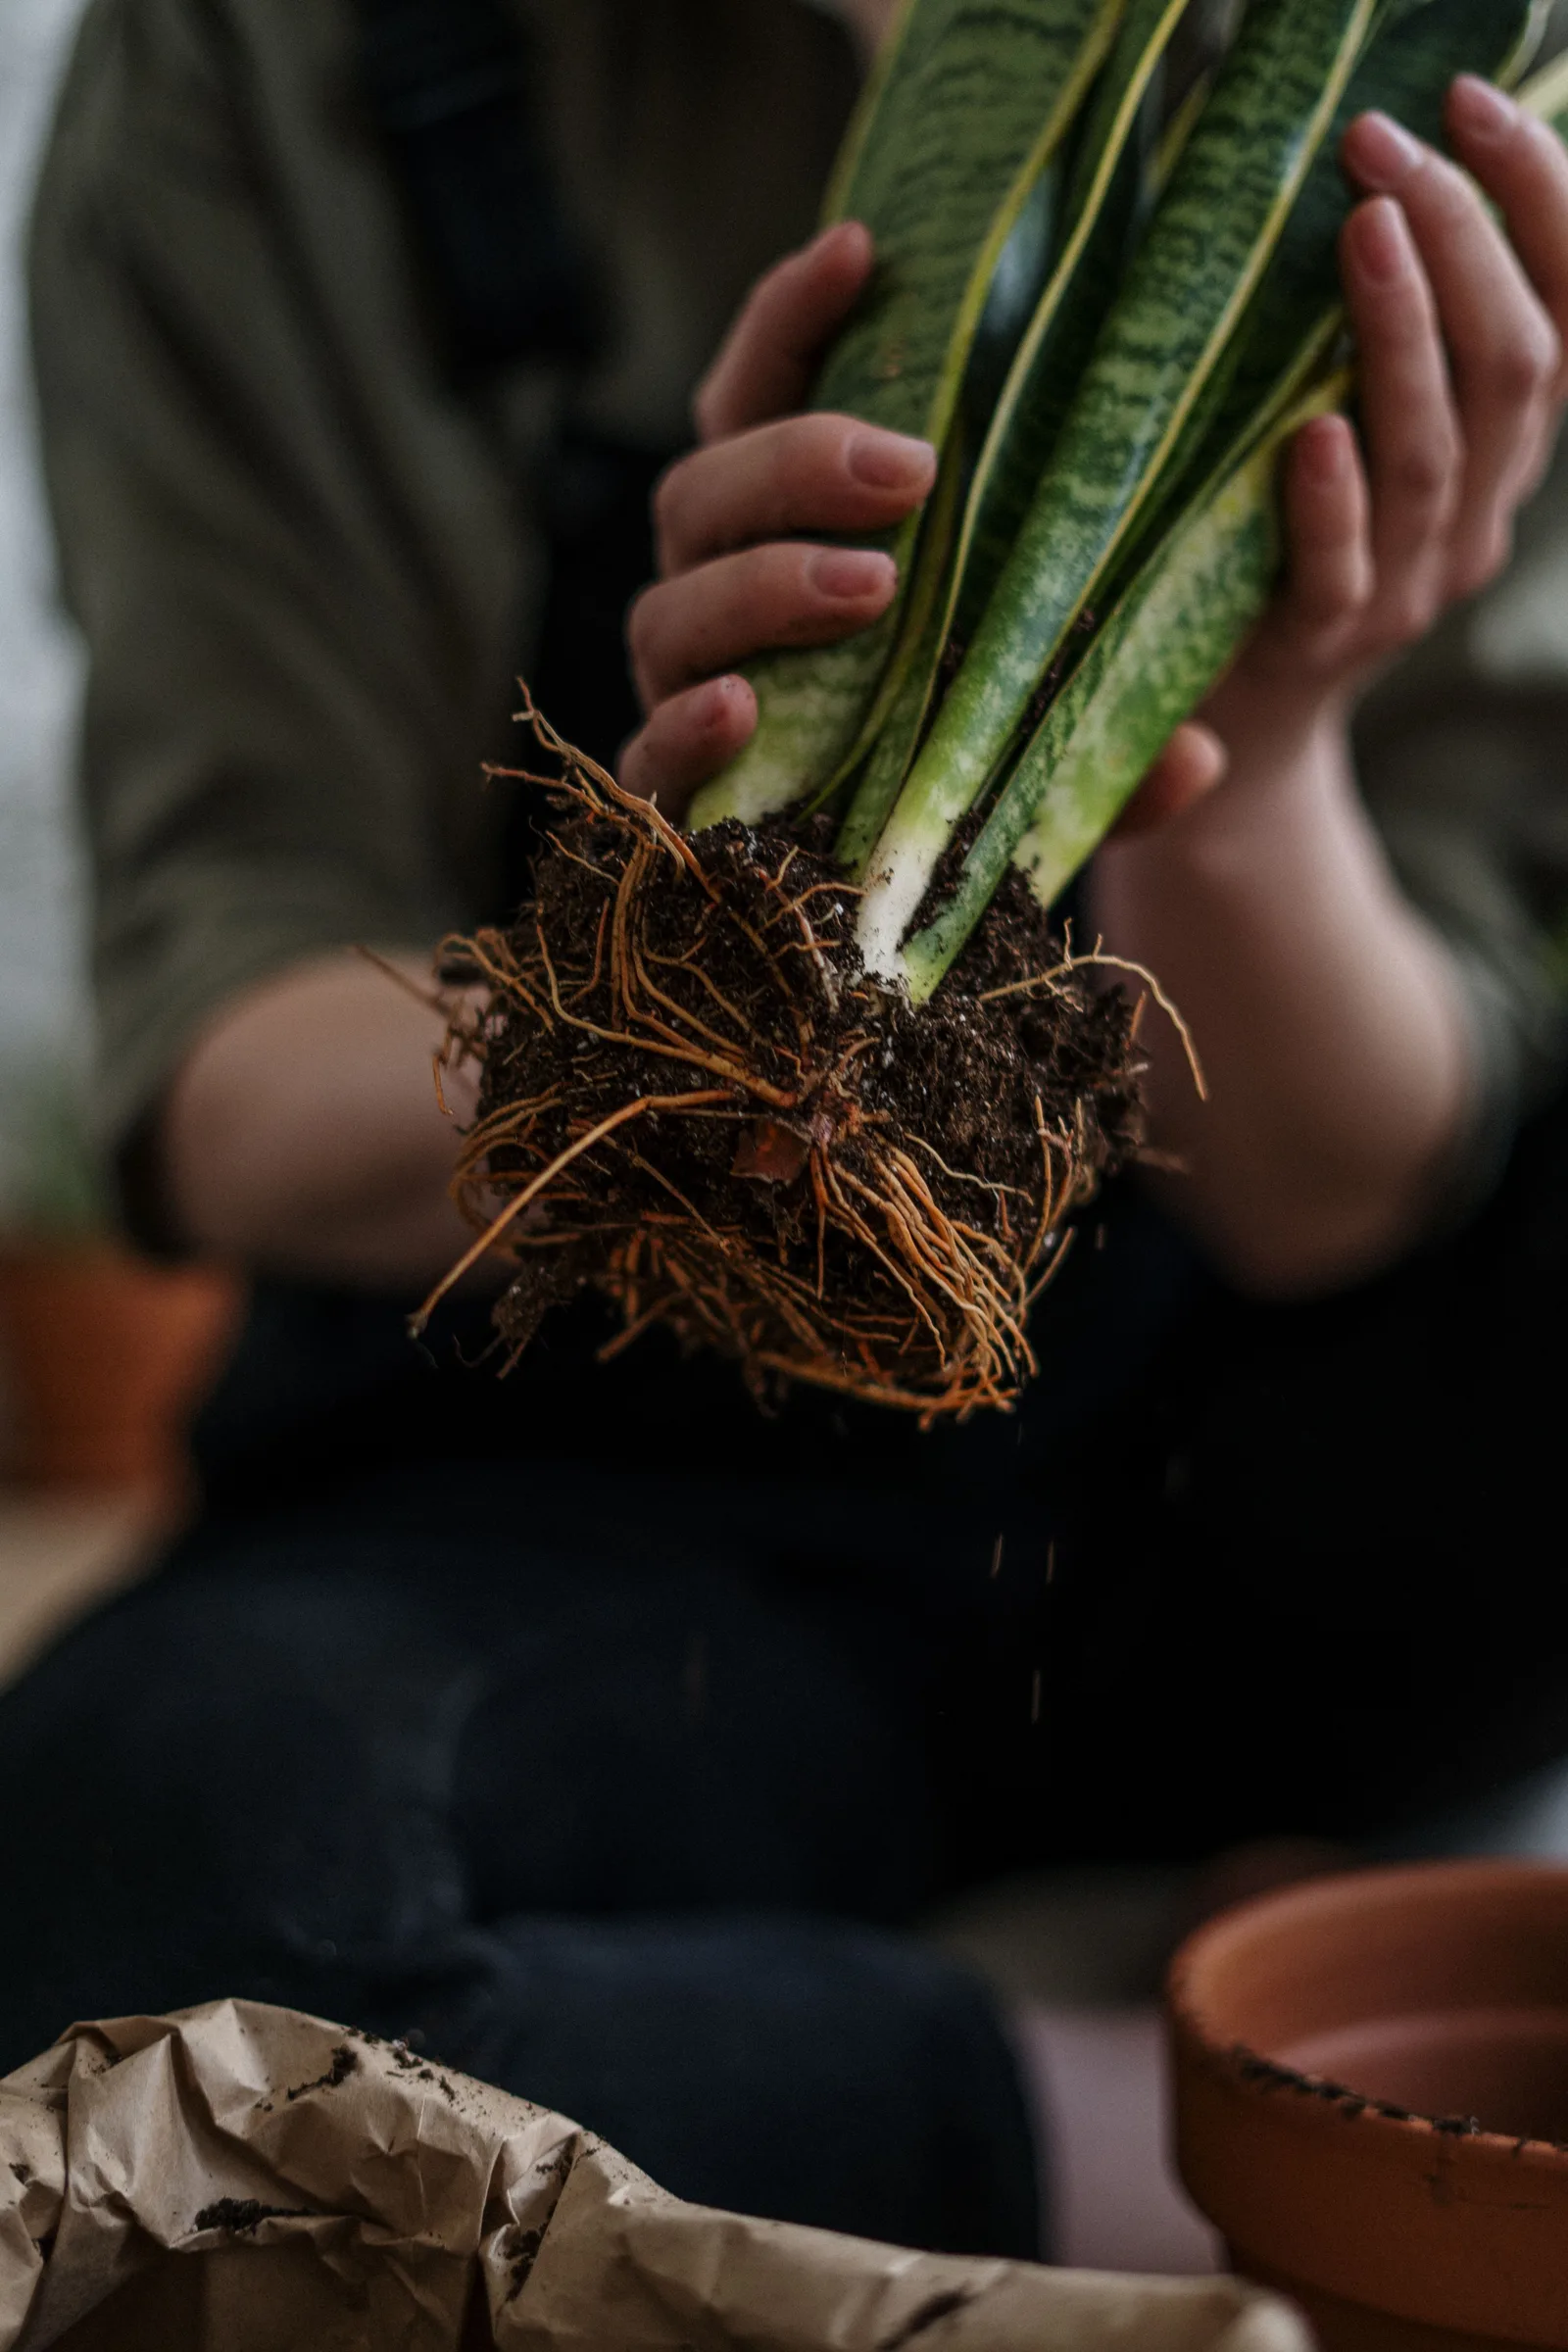
Tip the pot on its side and gently squeeze the sides (for plastic pots) or run a thin knife around the inside edge (for rigid pots) to loosen the root ball from the container walls. Ease the plant out by supporting the base of the stem and gently pulling, rather than yanking by the stem or leaves, which can tear tender growth. If the plant genuinely won’t budge, cutting the pot away is a reasonable last resort for an inexpensive plastic pot rather than forcing the plant and risking real root damage.
Loosening the Root Ball
For a plant with roots circling densely around the outside of the root ball, gently teasing the outer roots loose with your fingers encourages them to grow outward into the new soil rather than continuing to circle in the same pattern. For a severely root-bound plant, some growers make a few shallow vertical cuts into the root mass with a clean knife to encourage new root growth in fresh directions — this sounds more damaging than it is for a genuinely dense root ball, though it’s not necessary for a plant that’s only mildly root-bound.
Settling the Plant Into New Soil
Add a layer of fresh soil to the bottom of the new pot, position the plant so its base sits at roughly the same depth relative to the soil surface as it was in the old pot, then fill in around the sides with fresh mix, pressing gently (not packing tightly) to eliminate large air pockets. Planting too deep can cause stem rot for many houseplants, while planting too shallow leaves roots exposed and unstable, so matching the previous depth is generally the safest default.
Aftercare Following Repotting
Water thoroughly right after repotting to help the new soil settle around the roots and eliminate remaining air pockets, then hold off on fertilizing for four to six weeks to give disturbed roots time to recover before asking them to process additional nutrients. Placing the plant in slightly lower light than its usual spot for a week or two, rather than immediately back into bright direct conditions, can also reduce transplant stress while the roots settle in.
FAQ
Is some leaf drooping normal after repotting?
Yes, mild and temporary drooping or a brief pause in new growth is common and usually resolves within a couple of weeks as the plant adjusts to its new container and any root disturbance from the process.
Should I remove all the old soil from the roots before repotting?
Not necessarily — for a routine repot into a larger container, gently loosening the outer roots without stripping away all the old soil is usually sufficient. Fully bare-rooting is more common when addressing a specific problem, like root rot, that requires inspecting the roots closely.
What’s the best time of year to repot?
Spring, at the start of the active growing season, is generally the recommended time for most houseplants, since the plant is entering a period where it can recover and put out new growth more quickly than during a dormant fall or winter period.